When it comes to revamping a space, the biggest roadblock isn't a lack of creativity—it's the cost. Bringing your Pinterest mood board to life can quickly become more expensive than anticipated, but there are strategic ways to achieve that luxurious look at a fraction of the price.
Here's how to maximize your makeover budget:
- Set a strict budget and stick to it - Determine your maximum spend before you start shopping
- Curate your vision - Create a clear mood board of exactly how you want the space to look
- Prioritize your splurges - Decide where to invest and where to save (I always recommend investing in comfort where it truly matters)
- Choose quality over quantity - A few well-chosen pieces often have more impact than many cheaper items
- Shop your own home first - Repurpose items from other rooms before buying new
- Focus on high-impact, low-cost changes - Fresh paint, new throw pillows, and strategic lighting can transform a space
- Mix high and low - Combine a few investment pieces with budget-friendly finds
- Set clear boundaries - Avoid "minor exceptions" that can add up to hundreds over budget
From Monochrome to Magnificent - $500 Guest Room Transformation
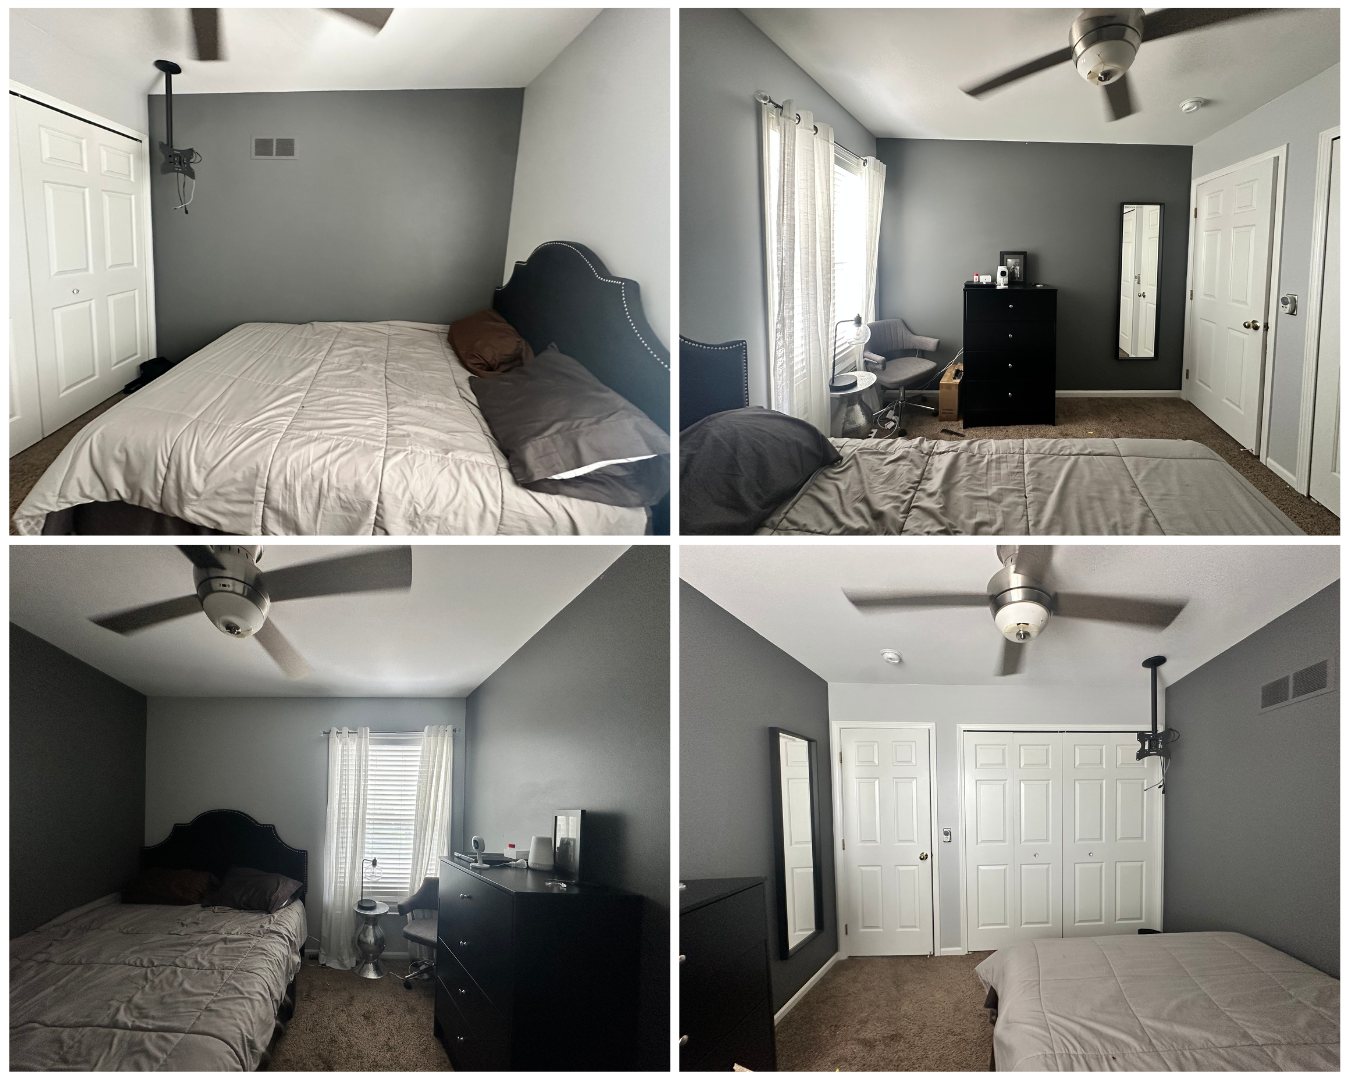
I recently decided to tackle a fun project in my family's guest room that they've been wanting to change for a while. We thought it would be the perfect opportunity to transform the space on a budget! This design involved gathering proper measurements and creating a detailed mockup with specific product deliverables, giving the client flexibility to execute the design on their own timeline. This room doesn't have much space to work with, which can make a project even more challenging if you don't know the small tricks that can dramatically improve a room's feel.
With a strict budget of just $500, it was critical that we use what's already available and make smart investments for key upgrades. While they initially requested to stay within the grey palette, the room had become what I call a "50 shades of grey situation"—dreary and lackluster, hardly the tranquil retreat guests deserve.
As I discussed in my previous post about creating cozy grey spaces, incorporating natural tones and materials is vital to preventing grey rooms from feeling cold and unwelcoming.
What we are repurposing:
- Smart TV with picture frame feature (a huge win since these are quite costly!)
- Queen-sized bed frame
- Existing pillows
- Fabric Stool
- Decorative carafe
- Throw blanket
- Books for styling
Strategic purchases within our $500 budget:
- Wall sconces for ambient lighting
- Stylish side table
- New duvet and bedding
- Window curtains
- Paint for closet doors
- Additional side console table
- Mossy green headboard
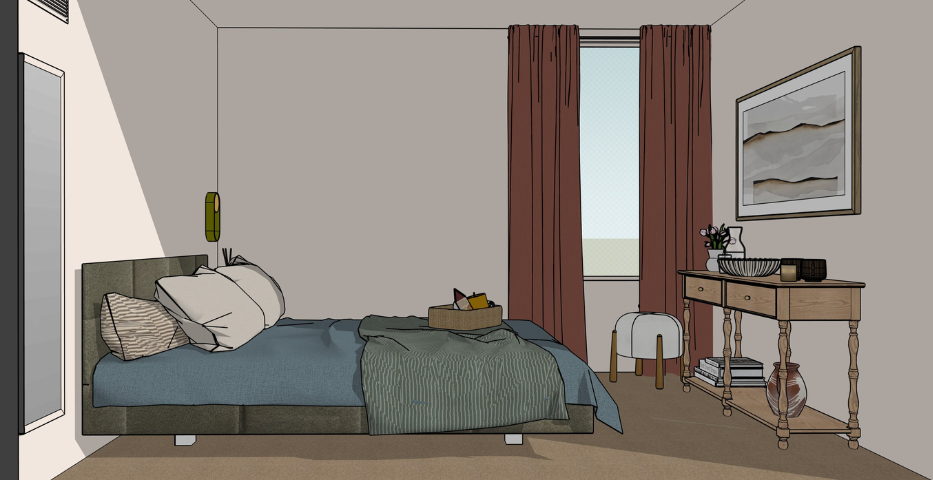
The Design Strategy: Color Drenching with Purpose
The goal of this project was to create a space that feels welcoming, lively, but still minimal. I felt it was important to add pops of color while keeping the room muted and sophisticated.
Starting with the walls, I implemented what's called "paint drenching"—covering almost the entire space with the same color. The client had leftover paint from a previous project that reminded me of a eggshell pink. After researching the exact shade, I discovered it was Behr's "Matled"—far from baby pink, but rather refined and warm. This discovery perfectly informed my design render, and I used this existing paint for all walls, the door, and ceiling.
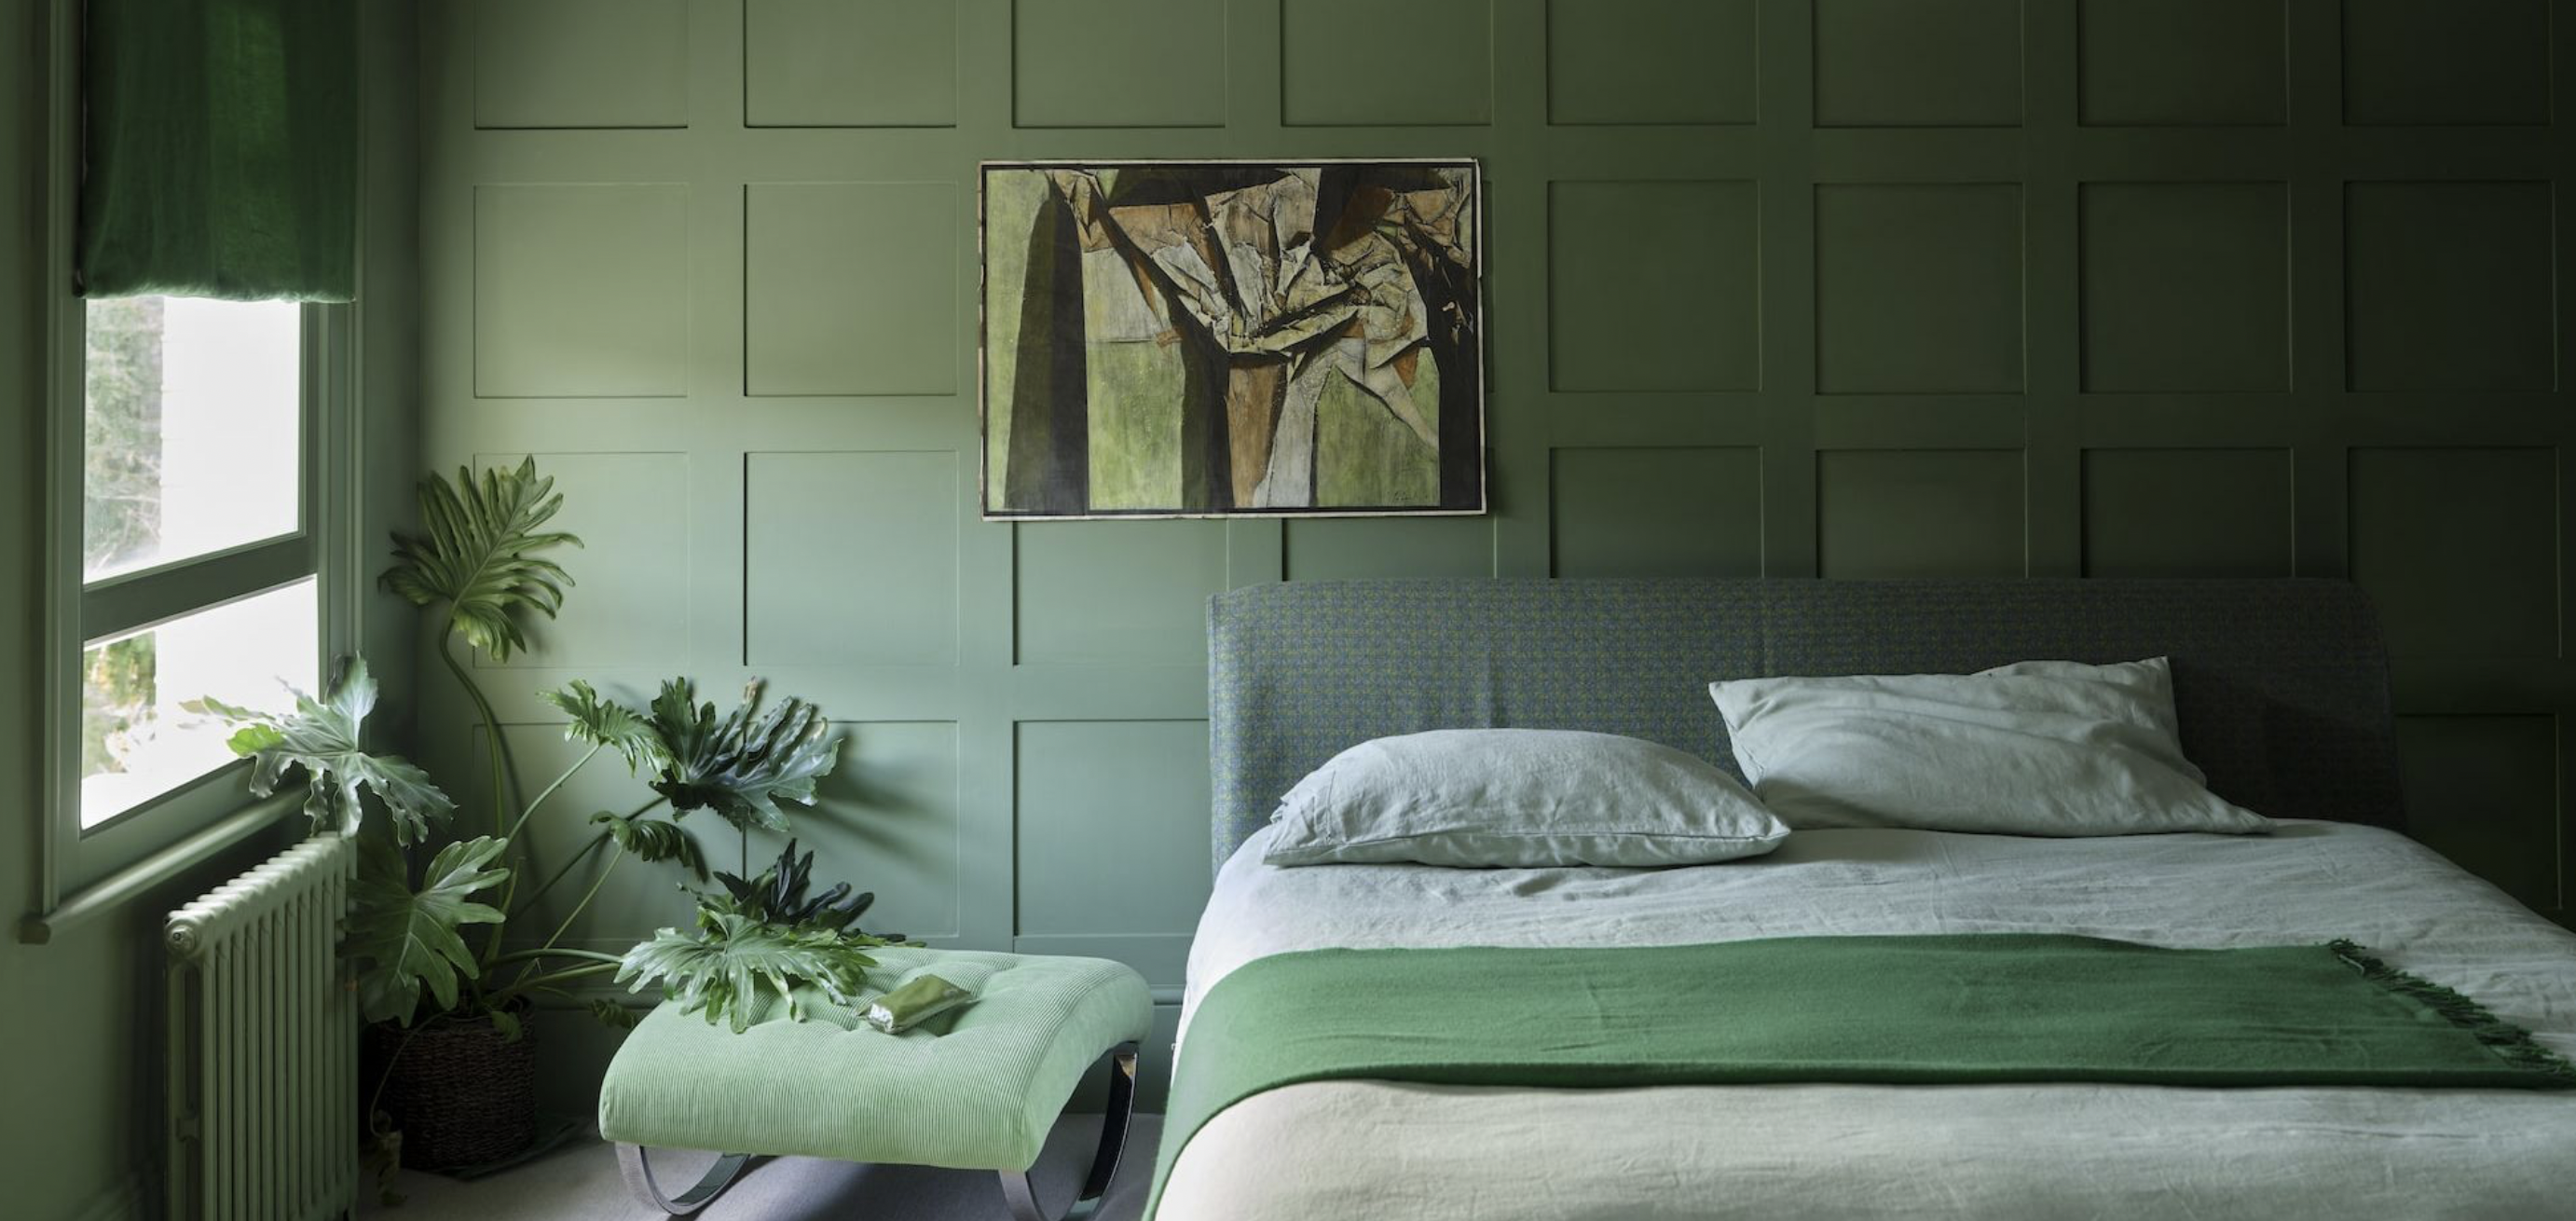
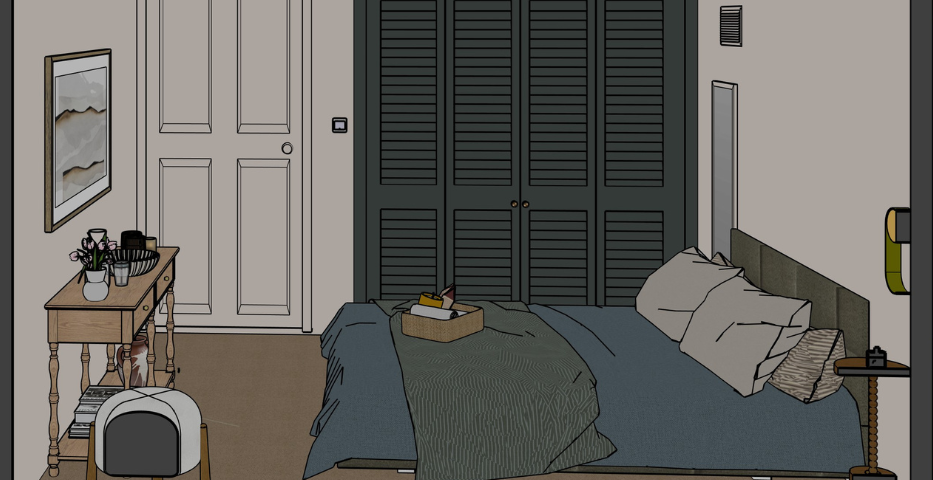
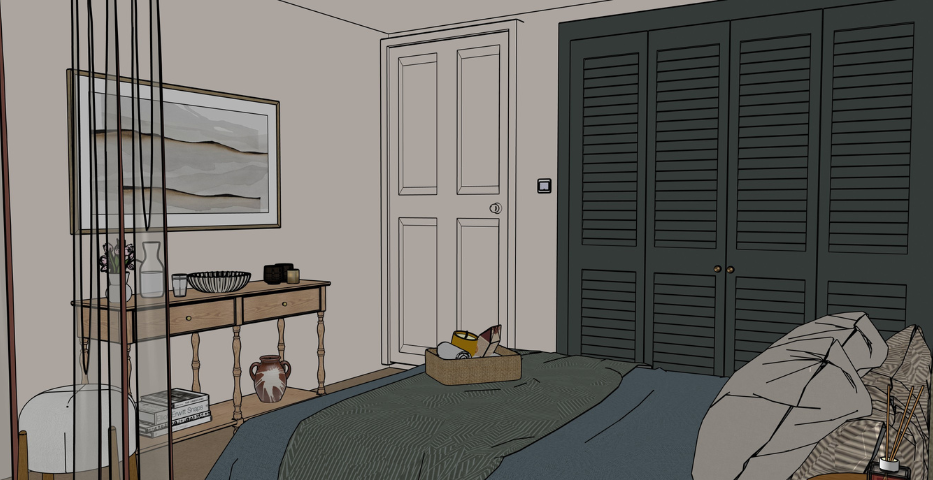
To add contrast and depth, I changed the closet color to Chine Green by Farrow and Ball, which I think will be one of my favorite transformations in this bedroom. This dark, rich color creates a stunning focal point while adding depth.
Color Inspiration
Layering Textures and Colors

For the bedding, I decided to play with colors, textures, and patterns that would complement our new color palette:
- Headboard: Added a mossy green upholstered headboard to tie in with the closet color
- Pillowcases: Terracotta stripe European linen pillowcases for warmth and pattern
- Duvet: Silk & Snow tempest blue duvet cover
The blue is beautifully grounded by the terracotta and soft walls, making the overall color feel cohesive rather than overwhelming.
Smart Furniture Solutions
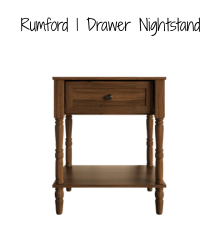
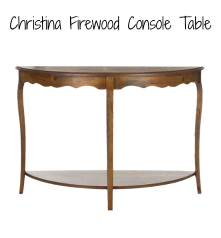
I incorporated wood pieces such as side tables and a small console table. The important thing to remember about incorporating wood is that the pieces don't have to match—actually, it's better if they aren't so "matchy-matchy." Things start to feel like a furniture store showroom, but the look you want to achieve is items that have been curated and collected over time.
Both woods for the console table and nightstand are darker tones but not identical. Due to budget constraints, only one side table was purchased, but this worked perfectly since the bifold closet doors take up space when opened. We repurposed and repainted the existing mirror, placing it on the other side of the bed to fill white space while offering guests a place to check themselves without leaving the room.
The Finishing Touch: Curtains That Transform
My favorite addition to this room is the curtains. We replaced the sheer white panels with striped maroon curtains that extend to the floor. They add length to the room, create an elegant, flowing touch, and provide that perfect pop of color that brings liveliness to the calming nature of the space.
Styling with Purpose
For the console table area, most of the decorative items shown in my design mockup were already found around the home. The smart TV was repurposed from another room, saving hundreds of dollars while adding both function and style with its picture frame feature when not in use.
Key Takeaways for Your Next Budget Makeover
This transformation proves that with some strategic upgrades, paint, and even rearranging furniture you can completely transform a room without breaking the bank. What made this project successful was the client's clear vision and strict budget adherence. Having a clear vision of how the room should look and feel helps the process run smoothly, and knowing there's a hard stop prevents costly "minor exceptions" that can add up to hundreds over budget. We came within dollars of exceeding our budget, even shopping for on sale items and using discount codes! Which highlights the importance of prioritizing spending on what matters most while cutting back on less essential items.
Remember these essential points:
- Set clear boundaries and stick to them
- Shop your own home first
- Shop sales
- Invest in paint—it's the most transformative bang for your buck
- Mix textures and patterns thoughtfully
- Don't be afraid of bold color choices when balanced properly
Update: The paint has been completed & currently in the process of purchasing the finishing furniture pieces. Guests are going to enjoy visiting so much more without the grey saturation that was overwhelming the space before. I cannot wait to see the end result!
What budget-friendly transformations have you tackled in your own home? I'd love to hear about your projects!